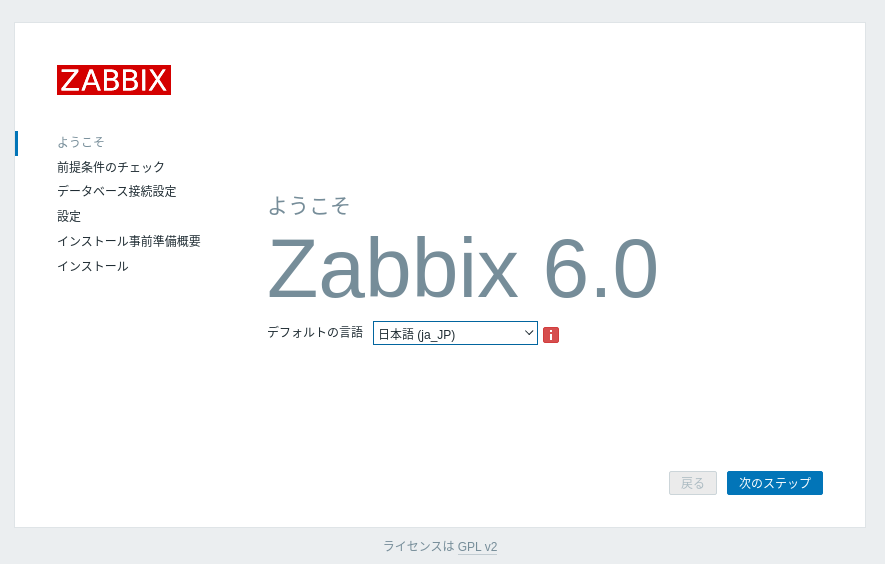
Rocky linux8.5 にZabbix6.0インストール
【php 7.4 インストール】
# dnf module list php# dnf module enable php:7.4 -y
# dnf install php
# php -v
# dnf clean all
# dnf install zabbix-server-mysql zabbix-web-mysql zabbix-apache-conf zabbix-sql-scripts zabbix-selinux-policy zabbix-agent2 zabbix-web-japanese
# dnf install zabbix-server-mysql zabbix-web-mysql zabbix-apache-conf zabbix-sql-scripts zabbix-selinux-policy zabbix-agent2 zabbix-web-japanese
# dnf remove mysql*
# dnf remove Mariadb*
# dnf install MariaDB
# dnf install MariaDB
# vi /etc/my.cnf.d/server.cnf
[mariadb]
character-set-server=utf8
[mariadb-10.7]
character-set-server=utf8
# systemctl start mariadb
# systemctl enable mariadb
# mysql -uroot
mysql> alter user root@localhost identified by 'password';mysql> quit;
# mysql -uroot -p
password
mysql> create database zabbix character set utf8mb4 collate utf8mb4_bin;
mysql> create user zabbix@localhost identified by 'password';
mysql> grant all privileges on zabbix.* to zabbix@localhost;
mysql> flush privileges;
mysql> quit;
# zcat /usr/share/doc/zabbix-sql-scripts/mysql/server.sql.gz | mysql -uzabbix -p password
※ERROR 1046 (3D000) at line 1: No database selected
→zcatで展開し、先頭に"use zabbix"を追加。
# vi /etc/zabbix/zabbix_server.conf
DBPassword=password
# vi /etc/php-fpm.d/zabbix.conf
php_value[date.timezone] = Asia/Tokyo
mysql> quit;
※ERROR 1046 (3D000) at line 1: No database selected
→zcatで展開し、先頭に"use zabbix"を追加。
# vi /etc/zabbix/zabbix_server.conf
DBPassword=password
# vi /etc/php-fpm.d/zabbix.conf
php_value[date.timezone] = Asia/Tokyo
# firewall-cmd --add-service=mysql --zone=public --permanent
# firewall-cmd --add-service=http --zone=public --permanent
# firewall-cmd --add-port=10050/tcp --zone=public --permanent
# firewall-cmd --add-port=10051/tcp --zone=public --permanent
# firewall-cmd --reload
# systemctl restart zabbix-server zabbix-agent2 httpd php-fpm
# systemctl enable zabbix-server zabbix-agent2 httpd php-fpm
※ selinux わすれずに!!
# journalctl -xe
【フロントエンドの設定】
http://localhost/zabbix/setup.php
user: Admin
password: zabbix
【背景イメージの登録】
user: Admin
password: zabbix
password zabbix.
【背景イメージの登録】
管理→ユーザ→ユーザの作成
管理→一般設定→表示設定→イメージ→タイプ→背景
【スクリプトの登録】 (コマンドの登録)
管理→スクリプト→スクリプトの作成
【ダッシュボードへのお気に入り登録】
「マップ」「スクリプト」の一覧から該当項目を選択して★マークでお気に入入りに登録。
管理→一般設定→表示設定→イメージ→タイプ→背景
【スクリプトの登録】 (コマンドの登録)
管理→スクリプト→スクリプトの作成
【ダッシュボードへのお気に入り登録】
「マップ」「スクリプト」の一覧から該当項目を選択して★マークでお気に入入りに登録。
【ERROR】 Zabbixサーバーの起動 いいえ
「Zabbixサーバーの起動 はい 」にならない。
※ IPv6でアクセスしていると思われる。
# vi /etc/hosts
# :::1 localhost
※ GUI PHP 設定変更
# vi /etc/zabbix/web/zabbix.conf.php
$ZBX_SERVER = '10.0.19.119';
※ 結局、/etc/resolv.confが悪さしていた!!
【 zabbixクライアントの設定 (zabbix-agent2)】
( 20240118 追記 rocky linuix9 )
# dnf install https://repo.zabbix.com/zabbix/6.4/rhel/9/x86_64/zabbix-agent2-6.4.10-release1.el9.x86_64.rpm
# vi /etc/zabbix/zabbix_agent2.d/plugins.d/z99-local.conf <<__EOF__
LogFileSize=1
Server=10.0.19.119
ServerActive=10.0.19.119:10051
Hostname=AMI-ROCKY-20G
#HostMetadata=Rockylinux
HostMetadataItem=system.uname
ControlSocket=/run/zabbix/agent.sock
AllowKey=system.run[*]
__EOF__
# setsebool -P httpd_can_connect_zabbix on
# setsebool -P httpd_can_connect_zabbix on
# setsebool -P zabbix_run_sudo on
# semanage boolean -l | grep zabbix
httpd_can_connect_zabbix (オン , オン) httpd が can connect zabbix できるようにします
zabbix_can_network (オン , オン) zabbix が can network できるようにします
zabbix_run_sudo (オン , オン) zabbix が run sudo できるようにします
※ AllowKeyを設定した場合は、下記も設定
# visudo
# Allows zabbix to run all commands without password.
zabbix ALL=NOPASSWD: ALL
# usermod -aG wheel zabbix
# vi /etc/sudoers.d/zabbix <<__EOF__
zabbix ALL=(root)NOPASSWD: /etc/init.d/apache restart
Defaults requiretty
Defaults:root !requiretty
Defaults requiretty
Defaults:%wheel !requiretty
# vi /etc/sudoers.d/zabbix <<__EOF__
zabbix ALL=(root)NOPASSWD: /etc/init.d/apache restart
Defaults requiretty
Defaults:root !requiretty
Defaults requiretty
Defaults:%wheel !requiretty
__EOF__
# firewall-cmd --runtime-to-permanent
# systemctl restart zabbix-agent2
------------------------------ 旧 -----------------------------
# dnf install https://repo.zabbix.com/zabbix/6.0/rhel/8/x86_64/zabbix-agent2-6.0.3-1.el8.x86_64.rpm
# vi /etc/zabbix/zabbix_agent2.conf
PidFile=/var/run/zabbix/zabbix_agent2.pid
LogFile=/var/log/zabbix/zabbix_agent2.log
LogFileSize=1
Server=192.168.254.254
ServerActive=192.168.254.254:10051
Hostname=zabbix60
HostMetadata=Rockylinux
HostMetadataItem=system.uname
Include=/etc/zabbix/zabbix_agent2.d/*.conf
ControlSocket=/tmp/agent.sock
AllowKey=system.run[*]
※ AllowKeyを設定した場合は、下記も設定
# visudo
# Allows zabbix to run all commands without password.
zabbix ALL=NOPASSWD: ALL
# semanage boolean -l | grep zabbix
httpd_can_connect_zabbix (オフ , オフ) Allow httpd to can connect zabbix
zabbix_can_network (オフ , オフ) Allow zabbix to can network
zabbix_run_sudo (オフ , オフ) Allow zabbix to run sudo
#setsebool -P httpd_can_connect_zabbix on
# setsebool -P zabbix_run_sudo on
# firewall-cmd --add-port=10050/tcp --zone=public --permanent
# firewall-cmd --reload
# setsebool -P zabbix_run_sudo on
# firewall-cmd --add-port=10050/tcp --zone=public --permanent
# firewall-cmd --reload
# systemctl restart zabbix-agent2
# nmap localhost -p 1-20000
# dnf install zabbix-get
Zabbix エージェントの動作確認
# zabbix_get -s 192.168.254.254 -k agent.version
6.0.3
# usermod -aG wheel zabbix
# vi /etc/sudoers.d/zabbix
zabbix ALL=(root)NOPASSWD:/usr/bin/nmap
Defaults requiretty
Defaults:root !requiretty
Defaults requiretty
Defaults:%wheel !requiretty


0 件のコメント:
コメントを投稿